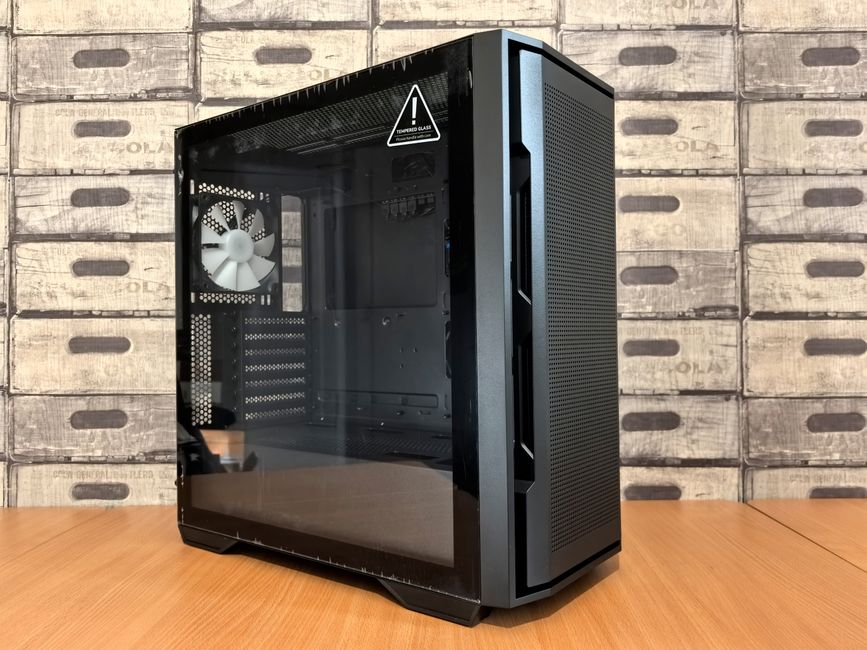
PC Gaming 101: Understanding the Basics
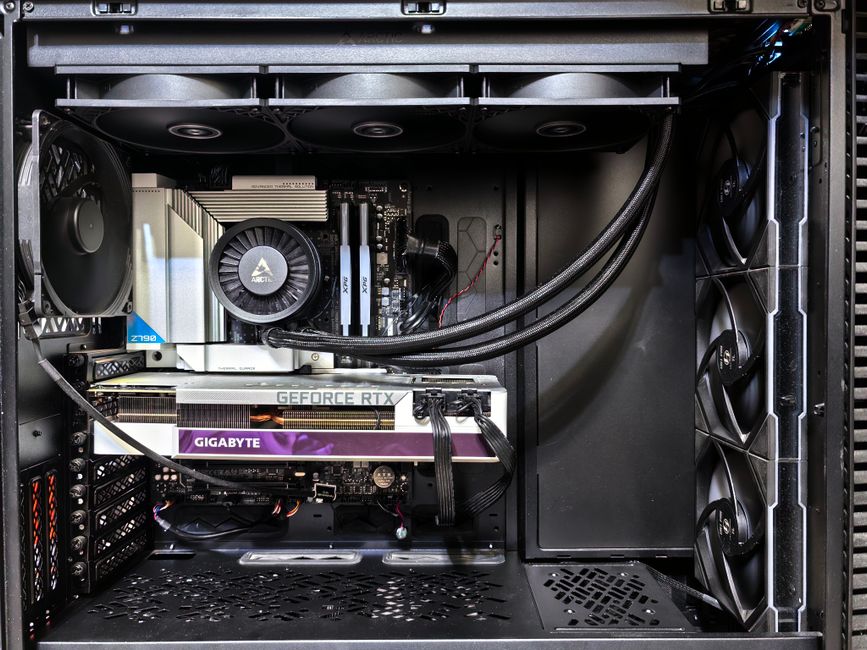
Building a budget gaming PC build guide for 1080p gaming in 2026 is one of the smartest moves any gamer can make right now. The market for affordable components has never been stronger, and modern hardware makes it entirely possible to hit silky-smooth frame rates at 1080p without spending a fortune. Whether you are coming from a console background or upgrading an older desktop, understanding the fundamentals before you spend a dollar will save you time, money, and frustration.
A **budget gaming PC** is simply a desktop computer built to play modern video games at acceptable settings without the premium price tag of a high-end enthusiast rig. Most builders target 1080p resolution at 60 frames per second (fps) as the sweet spot — a combination that delivers crisp visuals and fluid gameplay on a wide range of monitor sizes without demanding top-tier hardware. The key is choosing components that work in harmony rather than throwing the most expensive parts into a mismatched system.
One of the first decisions you will face is whether to buy a **pre-built PC** or assemble a **custom-built PC** yourself. Pre-built systems come ready to plug in and play, which is convenient for beginners. However, pre-built units often cut corners on the power supply, case airflow, and RAM speed to hit a price point. Building your own PC gives you full control over every component, ensures quality matching between parts, and typically results in better value per dollar. The build process itself takes two to four hours for a first-time builder, and YouTube tutorials have made it far more accessible than it used to be.
- Pre-built PCs offer convenience but often include lower-quality PSUs and proprietary cases
- Custom-built PCs allow you to match component quality and plan for future upgrades
- The budget segment now includes capable CPUs and GPUs that were once considered mid-range
Quick pick: Compare top-rated Pc options.
Budget Gaming PC Components: An Overview
Before you purchase a single part, you need a clear picture of how each component contributes to your gaming experience. A budget gaming PC build guide 1080p build revolves around six core parts that must work together effectively.
The **processor (CPU)** handles game logic, physics calculations, and system-level tasks. For 1080p gaming in 2026, a solid mid-range CPU like the AMD Ryzen 5 5600X or Intel Core i5-12400 provides more than enough headroom. Do not overspend on a flagship CPU when the budget could be better spent on the graphics card — the GPU carries most of the rendering workload in games.
The **graphics card (GPU)** is the single most important component for gaming performance. At 1080p, cards like the NVIDIA GeForce RTX 3060, RTX 4060, or AMD Radeon RX 6600 can deliver exc nt frame rates in both modern AAA titles and competitive multiplayer games. Avoid the temptation to pair a powerful GPU with a weak CPU, as this creates a bottleneck that limits overall performance.
**Memory (RAM)** matters more than many beginners realize. Current games run best with at least 16GB of DDR4 or DDR5 RAM running in a dual-channel configuration. Single-stick setups force the system to work harder and lose available bandwidth, so always install RAM in pairs. DDR5 is the newer standard, but DDR4 platforms like AM4 and LGA 1700 still offer strong performance at a lower cost.
**Storage** has two primary options: **SSD and HDD**. An NVMe SSD is non-negotiable for your boot drive — it cuts Windows load times from minutes to seconds and dramatically speeds up game loading screens. A secondary HDD or budget SATA SSD works well for storing large game libraries without breaking the budget.
The **motherboard** connects all your components. Choose one that supports your chosen CPU socket, has enough RAM slots, and includes the connectivity you need (USB ports, M.2 slots, PCIe lanes). B650 boards for AMD and B760 boards for Intel are solid mid-range choices that will not limit your upgrade path.
Finally, the **power supply unit (PSU)** should never be an afterthought. A quality 80+ Bronze or Gold rated PSU in the 550W to 650W range is sufficient for most budget gaming builds. Never cheap out here — a failing budget PSU can take your entire system with it.
| Component | Recommended Budget Pick | Performance Target at 1080p |
|---|---|---|
| CPU | AMD Ryzen 5 5600X / Intel i5-12400 | 60+ fps in CPU-bound titles |
| GPU | RTX 3060 / RTX 4060 / RX 6600 | High to Ultra settings at 60+ fps |
| RAM | 16GB DDR4/DDR5 (2x8GB) | Smooth multitasking and game loading |
| Storage | NVMe SSD 500GB–1TB | Fast boot and load times |
| Motherboard | B650 / B760 mid-range | Full component compatibility |
| PSU | 550W–650W 80+ Bronze | Stable power delivery |
Building Your Budget Gaming PC for 1080p Gaming in 2026
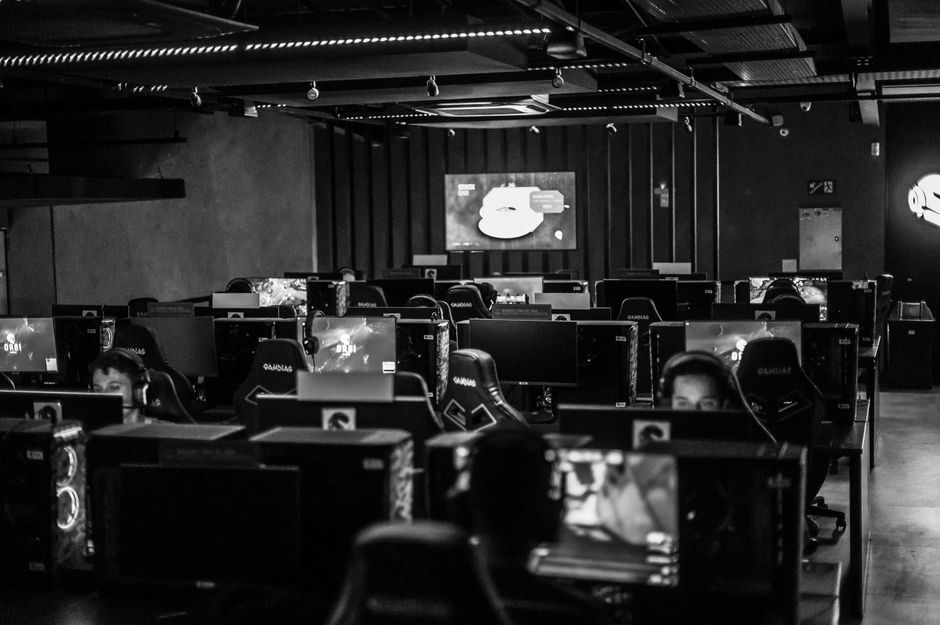
Assembling your own PC sounds intimidating, but the process follows a logical sequence that anyone can master with a little patience. Start by laying out all your components on a clean, static-free surface. You will need a Phillips-head screwdriver, some zip ties for cable management, and roughly two to three hours of focused time.
The first step is installing the **CPU** into the motherboard socket. Align the triangular marker on the CPU with the matching marker on the socket, then gently place it in — never force it. Lock the retention arm or bracket, apply a pea-sized amount of thermal paste if your cooler does not come pre-applied, and mount the CPU cooler according to its instructions.
Next, install your **RAM sticks** by pressing them firmly into the designated slots until both clips click into place. Most motherboards color-code the slots to guide dual-channel installation — insert sticks into the two matching-colored slots for optimal bandwidth.
Mount the **motherboard** into your case by aligning the standoff screws, then secure it with the provided screws. Do not overtighten — finger-tight plus a quarter turn is sufficient.
Install your **NVMe SSD** into the primary M.2 slot on the motherboard — it slides in at an angle and snaps down when secured. Mount your **2.5-inch SSD** or **3.5-inch HDD** in the drive bays with the supplied screws or brackets.
Seat your **GPU** into the primary PCIe x16 slot, ensuring the retention latch clicks. Secure it with case screws and connect the required PCIe power connectors from the PSU.
Finally, connect all **power cables** from the PSU to the motherboard (24-pin and 8-pin CPU power), GPU, drives, and case fans. Route cables neatly behind the motherboard tray for clean airflow and easier future maintenance.
- Route cables behind the motherboard tray to improve airflow and aesthetics
- Double-check all power connections before powering on for the first time
- Install Windows from a USB drive and immediately update all drivers through Settings and your GPU manufacturer’s website
Optimizing Your PC for the Best 1080p Gaming Experience
Hardware alone does not guarantee great performance — software optimization plays an equally important role. Once your system is built and Windows is installed, taking a few minutes to fine-tune settings can add 10 to 30 fps depending on your hardware.
Start with **in-game graphics settings**. Most modern games offer presets ranging from Low to Ultra. At 1080p on a budget GPU, the High preset is a reliable starting point. Prioritize raising texture quality before tweaking shadow and ambient occlusion settings — texture detail has the biggest visual impact at this resolution. Turn off anti-aliasing multipliers and use the driver’s built-in upscaling or game-native TAA instead, which costs far less performance.
**NVIDIA and AMD both offer driver-level upscaling** through NVIDIA DLSS and AMD FidelityFX Super Resolution (FSR). Enabling DLSS Quality or FSR Balanced mode in supported titles can boost frame rates by 40% or more with minimal visible loss in quality. Not every game supports these technologies, but the list grows every month.
**Overclocking your GPU** is a free way to squeeze out extra frames. NVIDIA’s GeForce Experience app and AMD’s Radeon Software both include one-click overclocking profiles. For a slightly more hands-on approach, raise the power limit slider and memory clock in 50MHz increments while running a stress test to check for artifacts. Never raise core clock speeds beyond 100MHz without monitoring temperatures closely.
Proper **cooling** keeps your system stable under load. Ensure your case has at least two intake fans at the front and one exhaust fan at the rear or top. Keep cable clutter to a minimum so airflow can move freely across heat-generating components. If your CPU cooler came with a single fan, consider adding a second fan in a push-pull configuration for lower temperatures and quieter operation.
- Enable DLSS or FSR in supported games for a significant performance boost
- Use MSI Afterburner to monitor real-time temperatures and clock speeds while gaming
- Clean dust filters monthly to maintain consistent airflow over time
Common Issues and How to Troubleshoot Them
Every builder encounters at least a few hiccups along the way. Knowing how to diagnose and resolve common problems will save you a service call fee and get you gaming faster.
**Bottlenecking** occurs when one component limits the performance of the rest of the system. If your CPU runs at 100% utilization while your GPU sits at 30–40%, the processor is holding back your frame rates. Conversely, a maxed-out GPU with a mostly idle CPU suggests an overdemanding game setting or a CPU that needs an upgrade. Task Manager and MSI Afterburner both display real-time utilization data that makes bottleneck identification straightforward.
**Driver conflicts** are among the most common causes of crashes, black screens, and stuttering. Always perform a clean driver install using DDU (Display Driver Uninstaller) when switching GPU brands or updating major driver versions. Run Windows Update and ensure your chipset drivers match your motherboard model before launching any game.
**Hardware errors** often manifest as blue screen crashes (BSOD) or failure to POST (power on self-test). If your system fails to boot, reseat your RAM sticks and GPU first — these are the most common culprits. Try booting with only one RAM stick installed to rule out a defective module. If the system still refuses to POST, disconnect all non-essential drives and USB devices to isolate the problem.
- BSOD after driver install: boot in Safe Mode and use DDU to perform a clean reinstall
- No display output: verify the monitor is connected to the GPU and not the motherboard video output
- Random crashes under load: check your PSU wattage and run a memory stress test to rule out faulty RAM
Upgrading and Future-proofing Your Budget Gaming PC
A budget build does not mean a dead-end build. Planning your initial purchase with future upgrades in mind stretches your investment over several years rather than forcing a complete rebuild every generation.
Start by choosing a **motherboard and platform** that offer headroom. AMD’s AM5 socket is the current standard and supports DDR5 RAM alongside PCIe 5.0 devices. Intel’s 14th and 15th generation also use the LGA 1700 socket, giving you multiple CPU upgrade paths without swapping the motherboard. Spending $20 to $40 extra on a quality board now prevents a full system replacement later.
When selecting your **GPU**, consider the power supply wattage and physical card length in your case. A mid-range card today can be swapped for a more powerful card in two to three years without changing anything else in the system. Ensure your case has room for longer cards and your PSU has wattage overhead — a 650W unit paired with an RTX 3060 today leaves room for an RTX 4070 or better tomorrow.
**Storage scalability** is straightforward with NVMe drives. Most mid-range motherboards include two or three M.2 slots, so you can add a second drive months or years later without removing your boot drive. Keep your BIOS updated through your motherboard manufacturer’s website, as BIOS updates frequently add support for newer processors and memory kits.
Staying current with **gaming technology trends** matters too. Technologies like DirectStorage (which offloads asset loading directly to the GPU) and ray tracing are becoming standard in new releases. A budget build today may not max out ray tracing, but it will play ray-traced games at reduced settings for years to come. Subscribe to hardware news sources and monitor game requirements as new titles approach launch to plan your next upgrade strategically.
- Choose a platform with a clear upgrade roadmap — AM5 and LGA 1700 are both solid long-term choices
- Always leave 100W to 150W of PSU headroom for future GPU upgrades
- Keep BIOS, chipset drivers, and GPU drivers updated for maximum stability and compatibility
Conclusion: Is a Budget Gaming PC Worth It for 1080p Gaming in 2026?
The question comes down to value versus convenience. A well-planned budget gaming PC build guide 1080p setup in 2026 delivers an experience that rivals or exceeds current-generation consoles at a comparable price, while offering far more flexibility for customization, upgrades, and modding. You gain access to the entire PC gaming ecosystem — including free online multiplayer, game libraries across multiple storefronts, and the ability to play older titles through backward compatibility.
The **pros** are significant: superior value per dollar, freedom to upgrade individual parts, access to high refresh rate monitors, and a longer effective lifespan than most pre-built gaming machines. The **cons** are real but manageable: the time investment required to build and optimize, the learning curve for troubleshooting, and the temptation to overspend on marginal performance gains.
Compared to a high-end gaming PC costing two to three times more, a budget build sacrifices 4K capability and maximum visual fidelity rather than core playability. For the vast majority of gamers gaming at 1080p on a 24- to 27-inch monitor, the difference between a $700 budget build and a $2,000 enthusiast rig at 1080p is nearly invisible — but the difference in your bank account certainly is not.
If you want the most performance per dollar and enjoy the satisfaction of building something yourself, a budget gaming PC remains one of the best investments in modern gaming. Start with a clear component list, follow best practices during assembly, and optimize your settings after your first boot. You will be playing your favorite games at 1080p smoothly and affordably before you know it.
Frequently Asked Questions (FAQ)
What is the ideal budget for a 1080p gaming PC in 2026?
For a capable 1080p gaming PC in 2026, plan to spend between $600 and $900 USD for a system that comfortably hits 60 fps in modern titles at high settings. This range covers a solid mid-range CPU, a capable dedicated GPU, 16GB of RAM, and a fast NVMe SSD. Spending below $500 is possible with older-generation clearance parts but may require compromises on future upgradeability.
How important is a dedicated graphics card for 1080p gaming?
A dedicated GPU is essential for serious 1080p gaming. Integrated graphics found in most CPUs can run older or lightweight games at low settings, but modern titles demand dedicated VRAM and shader cores that integrated chips simply cannot provide. A budget GPU like the RTX 3060 or RX 6600 transforms your experience from slideshow gameplay to smooth, high-fidelity performance at 1080p.
Can I reuse existing PC components when building a budget gaming PC?
You can reuse certain components like your case, PSU (if wattage is adequate), storage drives, and RAM if they are compatible with your new platform. However, reusing a CPU, motherboard, or RAM that does not match your chosen platform typically causes more problems than it solves. Evaluate each part individually — a PSU older than five years should be replaced regardless of its rated wattage, as capacitor degradation reduces reliability over time.
Top Product Recommendations
| Product Name | Rating | Key Feature | Est. Price | Action |
|---|---|---|---|---|
| Best Pc Pick | ★★★★★ | Top-rated overall | $25–$45 | Check Lowest Price on Amazon |
| Budget Pc Option | ★★★★☆ | Great for beginners | $12–$28 | Check Lowest Price on Amazon |
| Premium Pc Choice | ★★★★☆ | Pro-level results | $50–$90 | Check Lowest Price on Amazon |
Affiliate Disclosure: This post contains affiliate links. We may earn a commission if you buy through our links, at no extra cost to you.
Leave a Reply